
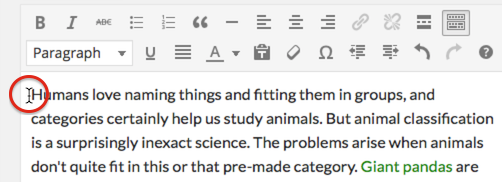
3.1 Placing your cursor
In order to add an image to your page, you must first insert your cursor in the place in the text where you want the image to appear. You can also place your cursor on a blank line if you want the image to appear by itself instead.
It’s a good idea to place your cursor on the left margin of your text, even if you want the image to appear on the right. That’s because there is a setting called Alignment that allows you to control whether the image appears on the right or the left side of the text.
3.2 Select the Add Media button
Click on the Add Media button to launch the media uploader. If necessary select the Insert Media option from the list of actions in the left side of the media uploader window.
3.3 Add or Select Your Image
You can add or select the image you want to add to your page by choosing from either of the following options in the center of the media uploader window:
- Upload Files:Upload the image you want to use from your computer by dragging it into the upload area.
- Media Library:Select from any previously uploaded images in the media library by clicking on the one you wish to add to your page.
3.4 Attachment Details and Attachment Display Settings
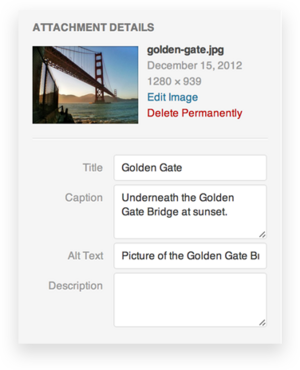
The Attachment Details pane displays a small un-cropped thumbnail of the image, as well as information such as the filename, date uploaded, image dimensions in pixels, title, caption, etc.
The Attachment Display Settings pane controls how the image is displayed when viewed on the site. You have options to set how you would like the image aligned on the page (in relation to the text and margins) and what the link behaviour of the image will be, In addition you can set what size image you would like to display on your page.
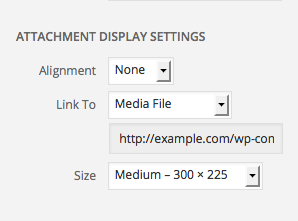
The Size settings determine the size of the image you are adding to your site. By default WordPress creates a range of four image size for you to choose from:
- Thumbnail:Displays a small thumbnail-sized version of your image on the page. By
default the Thumbnail size is a square, so some cropping of your image may occur. - Medium:Displays a medium-sized version of your image on the page. This is a good size to use with Left/Right alignments, as it leaves sufficient space for legible text on either side.
- Large: Displays a large-sized version of your image on the page. WordPress will determine the width of the content column of your theme, and display the largest possible image for that space.
- Full Size:Displays a full-sized version of your image on the page. WordPress will determine the width of the content column of your theme, and display the largest possible image for that space. If your original image is larger than this column width, the full size of the image may not be displayed.
3.5 Customizing image sizes
You can visit the Settings > Media section of your WordPress dashboard to customize the above image sizes.
3.6 Inserting the image
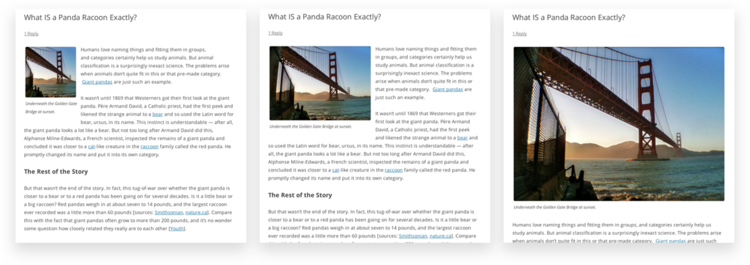
Click on the blue Insert into page button to add the image to your page. After the image uploader window closes, you will see the image in the text editor window, including a preview of the alignment of the image if you have specified an image alignment.
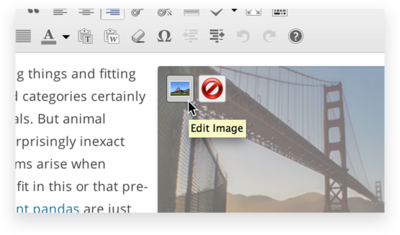
At any time, you can edit the image settings by clicking on the Edit Image button in the upper left hand corner. You can remove the image from your page by clicking on the Remove Image button.
3.7 Further reading
See: https://codex.wordpress.org/Inserting_Images_into_Posts_and_Pages