Uncategorized
8 posts
Site design customization
You can now tinker with your site’s design and schedule those design changes to go live as you please. Also, WordPress 4.9 gives you a preview link you can send to your team and customers so that you can collect and integrate feedback before you schedule the changes to go live.
Widgets
in WordPress 4.9, you can now add a gallery via a widget.
Embed images, video, and audio directly into the Text widget along with your text, with a simple but useful Add Media button.
The default value is 0. Remember to change them to something meaningful when saving, or the database will stop working for that selection.
Image Widget
Adding an image to a widget is now a simple task that is achievable for any WordPress user without needing to know code. Simply insert your image right within the widget settings. Try adding something like a headshot or a photo of your latest weekend adventure — and see it appear automatically.
Video Widget
A welcome video is a great way to humanize the branding of your website. You can now add any video from the Media Library to a sidebar on your site with the new Video widget. Use this to showcase a welcome video to introduce visitors to your site or promote your latest and greatest content.
Audio Widget
Are you a podcaster, musician, or avid blogger? Adding a widget with your audio file has never been easier. Upload your audio file to the Media Library, go to the widget settings, select your file, and you’re ready for listeners. This would be a easy way to add a more personal welcome message, too!
Rich Text Widget
This feature deserves a parade down the center of town! Rich-text editing capabilities are now native for Text widgets. Add a widget anywhere and format away. Create lists, add emphasis, and quickly and easily insert links. Have fun with your newfound formatting powers, and watch what you can accomplish in a short amount of time.
Enter creates a new paragraph
Shift-Enter creates a new line
Insert the following at the start:
<div class=”border-single” style=”padding: 20px”>
and at the end:
</div>
Go to Appearance > Edit Css, and add the following to the CSS:
.border-single {
border: 1px solid #000;
}
A couple of tips for positioning items added to a menu:
- Use the up-arrow to move new items up from the bottom – it makes inserting in the right place in the menu easier
- Add a block of new items by making them sub-headings of the first item, moving them to the correct position as a block, and then making them all headings – that way you won’t need to move them individually.
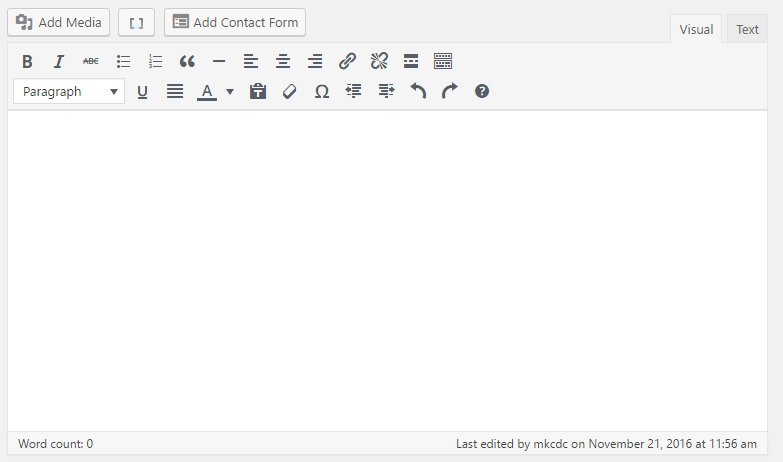
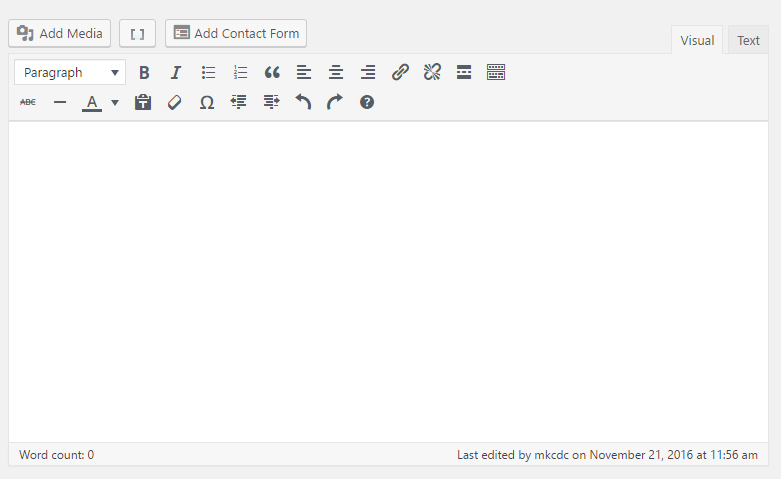
Some changes moving from version 4.6 to version 4.7:
The position of functions in the editor has changed
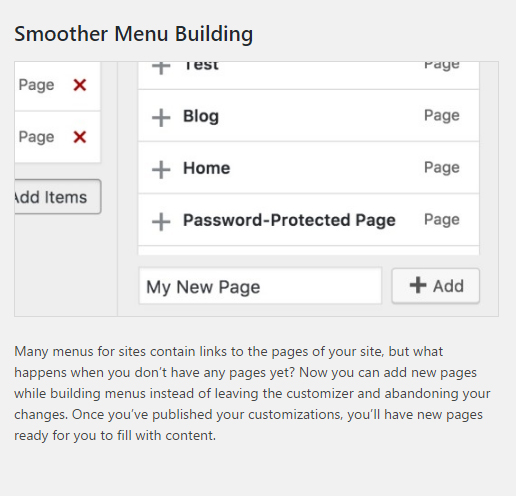
Create new pages while building a menu
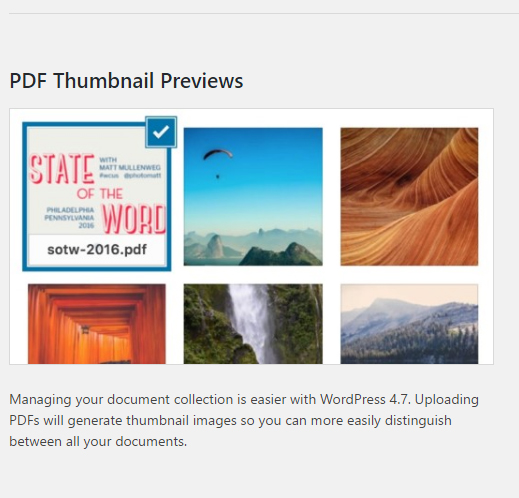
Thumbnails for PDFs in the media library